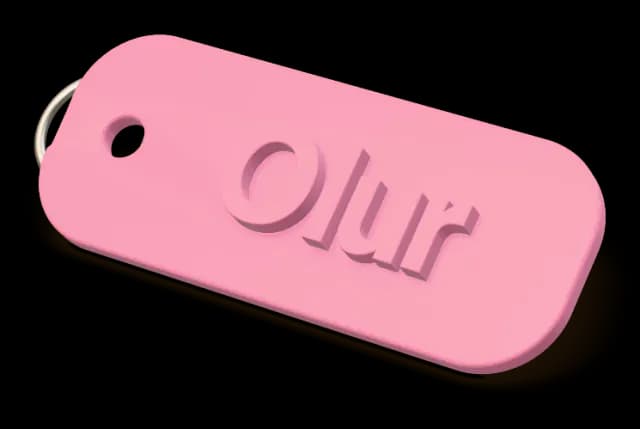
A logo in a second colour, a figure with painted-on eyes printed in, a sign with raised letters in contrast: multi-colour FDM printing can do all of these without a paintbrush. It is also slower and more wasteful than a single-colour print, which is why we price it differently. Here is how it works and how to ask for it.
How a printer changes colour
On most FDM printers, several colours share one nozzle. To change colour, the printer stops, pulls the current filament back, feeds the next one in, and pushes plastic through until the old colour is flushed out of the nozzle. That flushed plastic — the purge — is thrown away, and it happens at every colour change on every layer where both colours appear.
So multi-colour costs more in three ways:
- Time. Every change takes time, and a part with two colours on every layer changes colour on every layer.
- Material. The purged plastic is waste, and on small parts it can weigh more than the part itself.
- Preparation. Someone has to check that the colours are assigned to the right regions before the print starts.
How much of each depends on how the colours are distributed: a base in one colour with the top few layers in another costs far less than a figure whose colours alternate all the way up.
Why it is a custom quote here
Our instant quote is for single-colour prints. Every price is computed from a real slicing run, and we have not yet measured the purge and time per colour change on our own printers accurately enough to price multi-colour automatically. Rather than guess, a person prices multi-colour work. If you upload a 3MF that uses more than one colour, the quote says so and links you to the custom quote form, with your file carried along.
What to send
- A 3MF with the colours already assigned is best. Slicers such as Bambu Studio, OrcaSlicer and PrusaSlicer let you paint colours onto the model or assign a colour to each part, and save the result as 3MF.
- Or separate parts — one STL per colour, all exported in the same position so they line up — plus a note saying which colour each file is.
- Or an STL and a description. STL cannot carry colour, so tell us in words: “body black, letters white, top 2 mm red”. A reference picture helps.
Add the material, the quantity and anything else that matters. We reply by e-mail or phone with a price.
Design tips that keep it affordable
- Put colour changes at a height rather than across every layer where you can — a different-coloured top or base is the cheapest multi-colour there is.
- Use as few colours as the design needs; every extra colour adds changes.
- Consider printing parts separately in single colours and assembling them — often cheaper, and each part can then be priced instantly.
- For a one-off decorative piece, a single-colour print painted by hand can be an alternative; see finishing.
Single colour, instantly
If one colour will do, upload the file to the instant quote and see the price straight away. If you are not sure which way to go, write to us.